Congratulations, you have a brand-new house – all shiny and fresh. You can’t wait to redecorate all the rooms and start living in your renovated house but before you can move in or start using the rooms again, you need to clean it. Quick vacuuming and surface dusting are not enough to get rid of the construction dust and smell.
If you don’t act fast, the dust is going to end up in your air or in the furthest corners of your house making it nearly impossible to clean up afterwards. So, how do you go about effectively cleaning up after a renovation? Well, you organize a post-construction cleaning marathon and follow the below tips that will make the cleaning mission fast and effective. So, without further ado, let’s jump to discussing some cleaning tips.
Sweep the Floors First
Depending on the scope of your renovation project, you might have huge chunks of waste on your floors like stones, particles of wallpapers or cabels – anything really. So, get your broom and dustpan from your closet and sweep the floors.
This step will spare you a lot of trouble while vacuuming. For one thing, if you have big things gone out of the way, you can even use a robot vacuum cleaner to remove the smaller layer of dust.
A side tip, try to use a firm broom, otherwise it may break while sweeping as the construction waste if often heavier than what brooms have been designed for.
Clean the Walls
If you haven’t touched your walls during the renovation, it doesn’t mean you can take it off of your cleaning checklist. Walls are prone to collecting dust and keeping them very safe. So, once you’re done sweeping your floor, dust the walls and wipe them. You can also refresh your walls by using special cleaning products that renew colors and make them look shiny. This will require a little more time and energy but the result pays off. If you did touch your walls (changing wallpapers or painting them) then you don’t have to turn to cleaning products.
One more additional tip, for the beginning just dust the wall and then once you’re done with floors and ceiling, you can wipe them.
Clean the Air Vents and Change Any Filters You Have
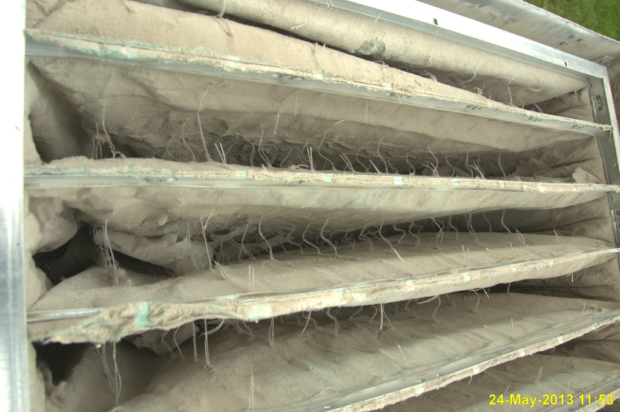
The air vents are usually ignored by many homeowners and that’s very unfortunate because they are the best spot for dust and other germs. They can stay there forever and prevent air vents from functioning and keeping you air clean.
Achim Hering [CC BY-SA 3.0]
Once you’re done with your floors, ceiling and walls, turn to air vents. The cleaning shouldn’t take more than 15 minutes but it spares you a lot of dust that you were otherwise going to breathe.
Not necessarily a cleaning tip, but while you’re in the process of cleaning your air vent, it’s a good idea to also change the filters after your renovation.
Side tip – if you had your air conditioning already installed then you can also change it’s filter.
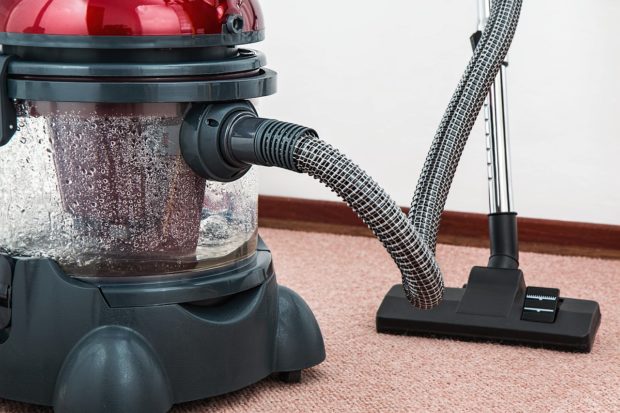
Vacuum the Floor and the Upholstery
Sweeping cleans the big chunks but you still need to do the vacuuming. If you have a robot vacuum cleaner then you can save some of your time. Use your regular vacuum cleaner for the upholstery and in the meantime, let the robot vacuum cleaner take care of the floor..
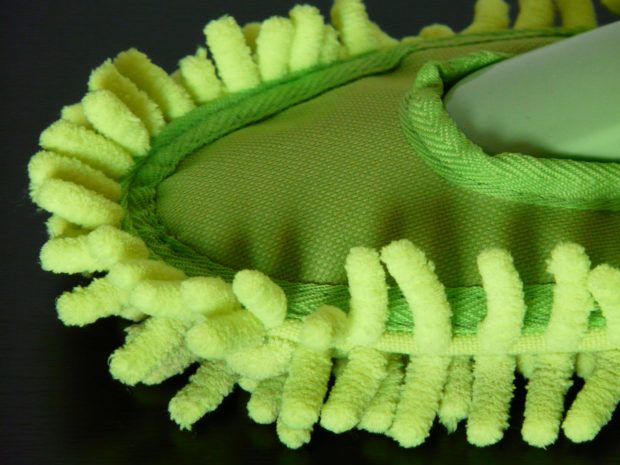
Dust Everything … I Mean, Everything
Before you start vacuuming your house or the one room you renovated, you need to dust. We already talked about dusting the walls and your air vents but your house has a lot more than that.
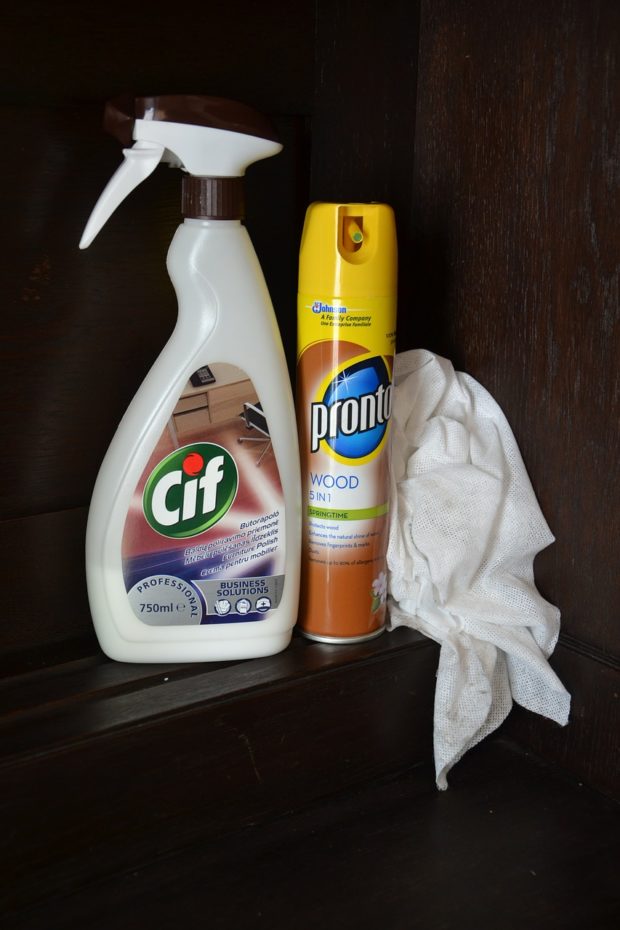
Even if you had left your furniture in the room but covered them, you still need to dust it. We recommend two-stage dusting – once without any products and then to finalize, after the vacuuming, clean your furniture with special products.
In case the renovation was large scale with a lot of dust, you can also disinfect your furniture.
Run your vacuum cleaner one more time after dusting to make sure nothing is left, you never lose with extra vacuuming on a construction site.
Just a couple of hours and your house will be free of dust and ready to be used again. Happy cleaning marathon!

