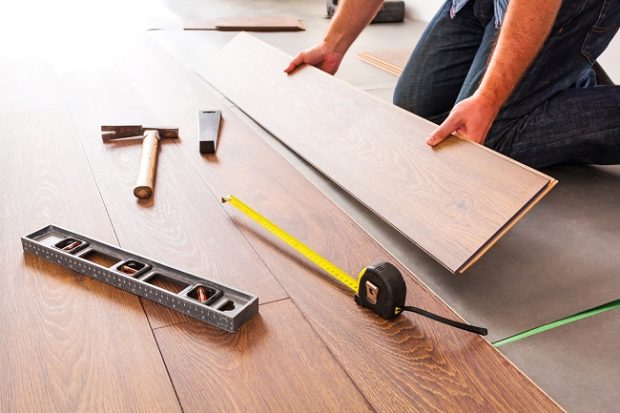
Installing laminate flooring is one of the quickest when it comes to installing a wood floor. Laminate floor is not nailed as the regular solid-wood strips are installed, but this floor is either glued or snapped together. While installing laminate flooring, always leave 5/16 inches of space between the laminate flooring planks and the baseboard, so as to allow some room for expansion. Once you have made all the preparations of installing laminate flooring, you can begin your work.
Things required:
- Flush-cut dovetail saw
- Utility knife
- Duct tape
- Spacer blocks
- Pry bar
- Glue
- Jigsaw
- Fine-tooth wood blade

Installation steps for laminate flooring:
Step 1:
The first step in the process of installing laminate flooring is to trim the casings of the door of the room. In order to do this, you will have to use a flush-cut dovetail saw. Using this equipment, you will be able to trim the casings of the door so that the laminate flooring can be slid underneath it. Before you make the trimming, measure the height of cut you will be making by laying a piece of foam underlayment and a piece of flooring upside down. After this, hold the flush-cut dovetail saw flat against the plank and then make the cut.
Step 2:
Installing the foam underlayment is the second step in the process of installing laminate flooring. For this, first you will have to vacuum inside the room. Once you have removed all the dirt from the surface of the floor, you can unroll the foam underlayment. Cover the entire floor surface of the room with a single layer of floor underlayment. Use a knife to trim the foam to fit where required. Remember to but the seams together. Next, seal the seams of the foam underlayment using a duct tape.
Step 3:
In this step, lay down the grooved end of the first plank of laminate flooring in the corner against a spacer block. You will have to place spacer blocks all along the starting wall. In order to fill in the pieces inside the first course, place a spacer block against the wall and measure from it to the last plank that you have installed. Now, mark this measurement on a fresh piece of plank, then cut the plank to length. Using a specialized laminate floor cutter tool will help speed this up for larger flooring jobs. Then, apply glue to the end groove of the fresh plank and stick it. Slip a pry bar between the end of the plank and the spacer block in order to lever the joint together. Now, push the piece back into its place.
Step 4:
For this, start a new course with the piece of flooring left from the previous cut. But, follow this method only if the previous cut is more than 8 inches in length. Now, apply some glue to the groove of the plank in a continuous bead, always sliding it up against the previous row. Then, set a wooden block against the outside of the laminate flooring plank. Bring the planks together by tapping them with a hammer.
Step 5:
Once you have reached the final course, measure the width required for the last plank of the laminate flooring. For the final course, you will need a plank that can be notched to fit inside the doorway of the room.
Step 6:
With the help of a jigsaw, rip the plank to the measured width. Cut the plank in a way that it fits underneath the casings of the door of the room. For this purpose, you will have to use a fine-tooth wood blade. Also, cut out the doorway notches.
Step 7:
For this step, remove the spacer block on the last wall. Then, with the help of the pry bar, pull the piece tightly against the previous course. Let the glue remain for at least 12 hours before you remove the painter’s tape, spacer, and trimming from the room. Fasten the molding and you are done with your laminate flooring.


